How to get started with chainmail
When I was visiting Castlefest this year, I had the great opportunity to visit Kunst Op Straat. This artful collective gave some really interesting workshops and lectures about a variety of creative things, ranging from painting and song-writing to historical clothing. I signed up for a workshop on chainmail.
Since I was not entirely new to chainmail the guy conducting the workshop was kind enough to show me some advanced stuff — by which I mean something different than the planned ‘make your own keychain’.
The workshop was lots of fun, so I went home armed with my own private supply of pliers and aluminium rings. After making a nice bracelet with a very pretty looking byzantine weave, I decided to share some tips and tricks on how to get started with chainmail.

¶Step one: Gather some inspiration
Before you can start making your own chainmail jewelry or armor, you need to have a attainable goal. I recommend fooling around with a few weaves before you start building a complete hauberk out of nothing. This part is fun and easy: just browse around on Etsy, Flickr, DeviantArt or the M.A.I.L. website and gather some inspiration for what you want to make.
¶Step two: Obtain the right materials
¶Rings
If you have a general idea of the item you want to make, think about the right materials for the job. Aluminium is light and easy to handle, but not very strong. Galvanized rings come in lots of different colours but might scratch easily.
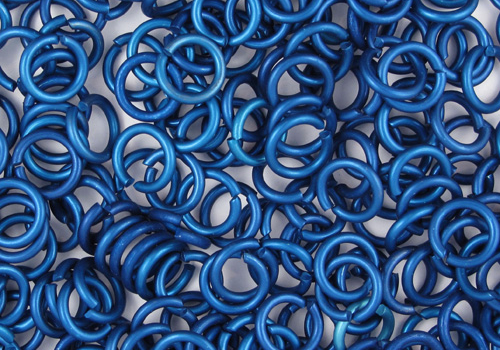
Steel is really tough, but you need more strength in your hands to work with it. Silver is neat for jewelry, but not very cheap to start with. And rubber rings can give your wearables a stretch effect — just don’t forget you can only use them as ‘closed rings’ in a weave! Look to other mailers to see what type of ring they use for different items.
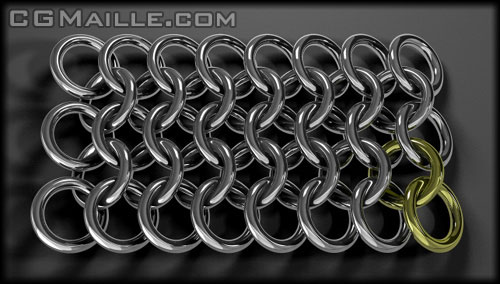
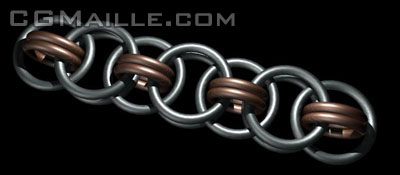
The size of the rings, the thickness of the wire and the aspect ratio between the size and thickness of the ring all determine the kind of weave you can use. To give an example: European 4-1 works with almost all rings, but for the Helm chain, you need two different sizes:
You can obtain most standard sizes rings in all kinds of materials from specialized webshops such as TheRinglord.com (USA) or The Queen Ring (NL).
¶Pliers
You need two pliers to open and close the rings while weaving. Some people have different kinds depending on the type of ring they’re working with: pliers with tooths for lots of grips for the tougher rings and smooth smaller pliers for jewelry making. Mind that the bigger or broader the pliers, the harder it is to see what you’re doing but the better the grip. Toothed pliers might scratch galvanized rings.
¶Other materials
You can combine chainmail with scale mail to make really cool and shiny armor. Upgrade jewelry with wirework, beads and precious stones. The sky’s the limit. Don’t forget to buy closures: leather straps for armor and silver or gold coloured clasps for bracelets and necklaces.
¶Step three: Find a tutorial and learn to weave
You have a good idea of the thing you want to make. You have heaps and heaps of rings in shiny colours. You are dual wielding your mighty pliers with unparalleled prowess. Now what?
You have to learn how to weave. Lucky for you, there are numerous good sources on the internet. A few of my favourites:
- CGMaille.com
- The extensive weave library of Mailleartisans.org
- Derakon’s library of instructions (theringlord.com)
Is this all a bit too much for you? Start with this tutorial on European 4-1. It will teach you how to make a sheet of chainmail for armor and simple bracelets.
¶I’m a master of European 4-1. What’s next?
If you can weave European 4-1 in your sleep, try your hand on one of the following things:
- Try more difficult weaves.
- Try working with scale mail.
- Make a chainmail ‘inlay’ from different coloured rings.
- Take on a big project. Make a big piece of armor, such as a hauberk. Hauberks generally consist of 7000+ rings.
- Make your own custom rings.
- Combine chainmail with intricate beading-schemes.
- Try making something out of micro-maille.
If you have made something after reading this tutorial, be sure to share it in the comments. I’d love to see your creations. Happy weaving!