Poster design step-by-step
Hey guys! As a continuation of my tutorial on poster design, I thought I’d write a blogpost with an example. Here’s the step-by-step design process of the poster “Pluk de nacht”.

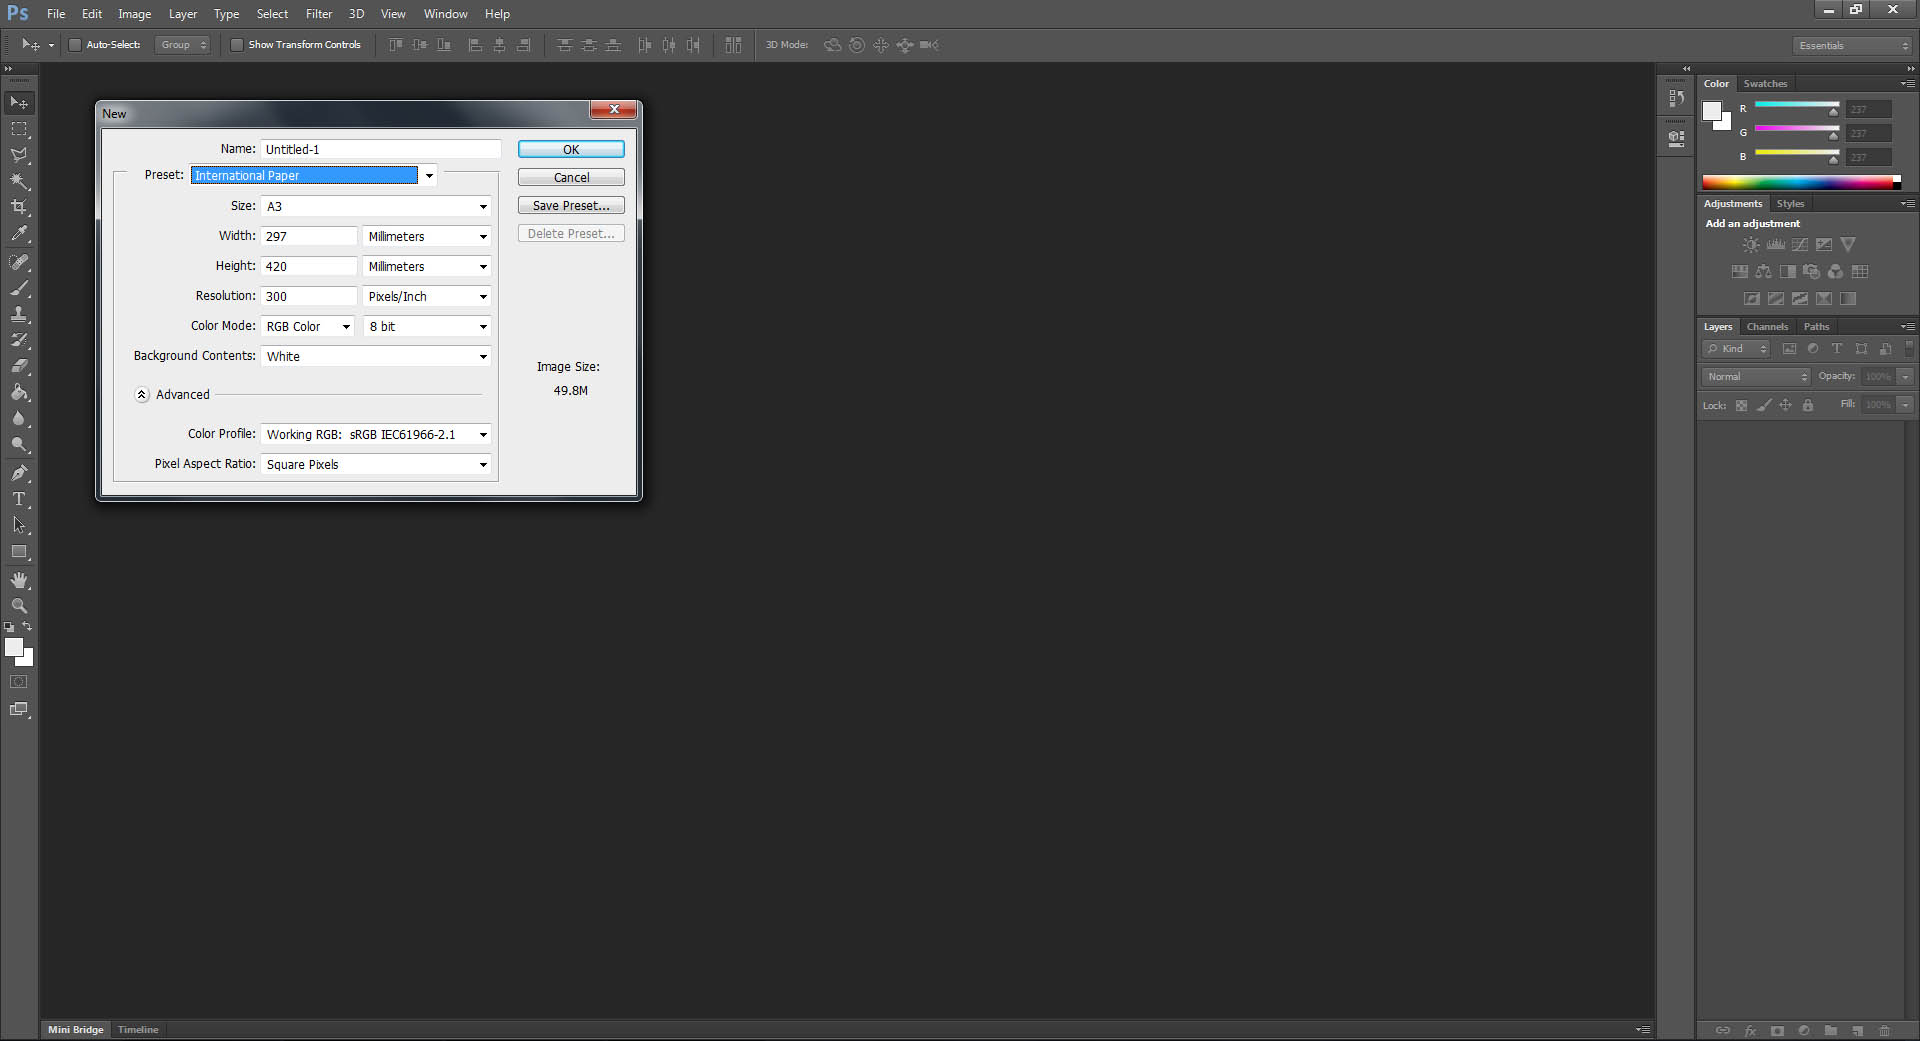
- Set up the document. This poster will be printed on A3 paper. To make sure final result looks nice and crisp, I’ve set the document resolution to 300 dpi.
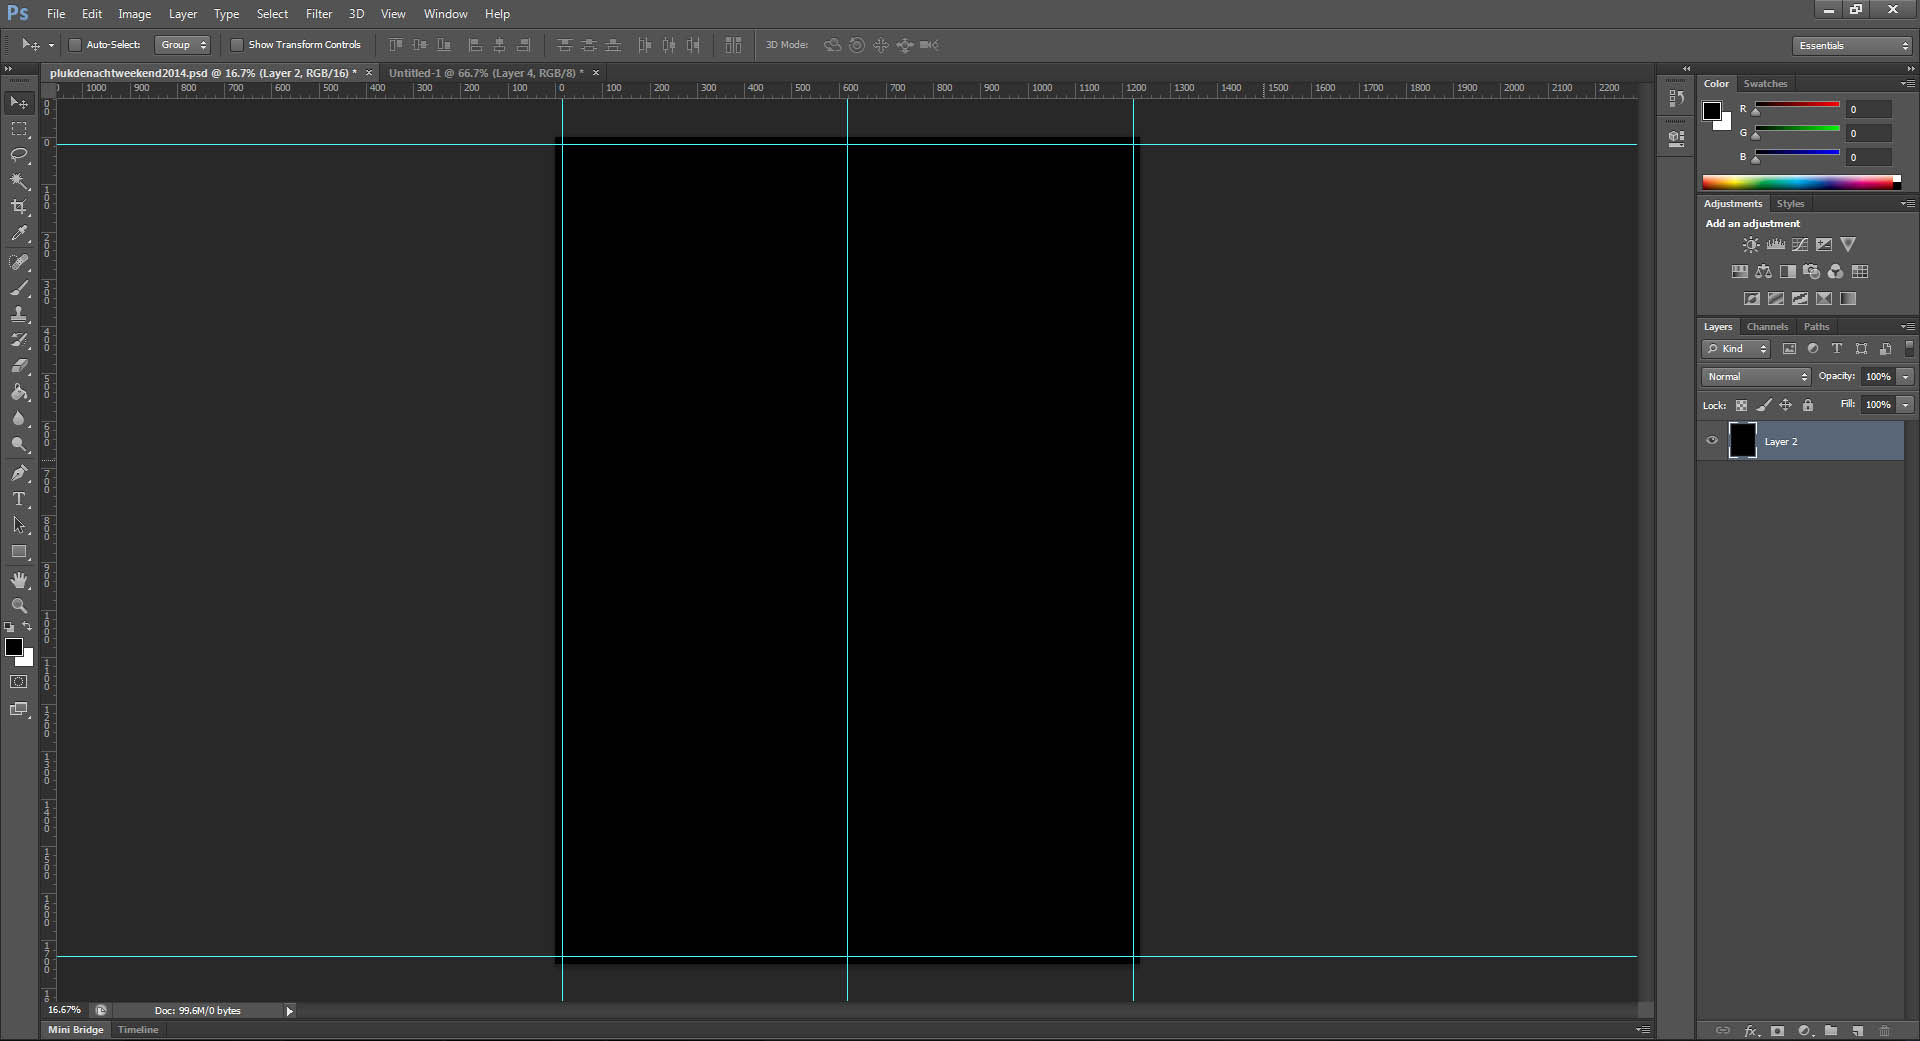
- Mark the middle and the margins with guides.
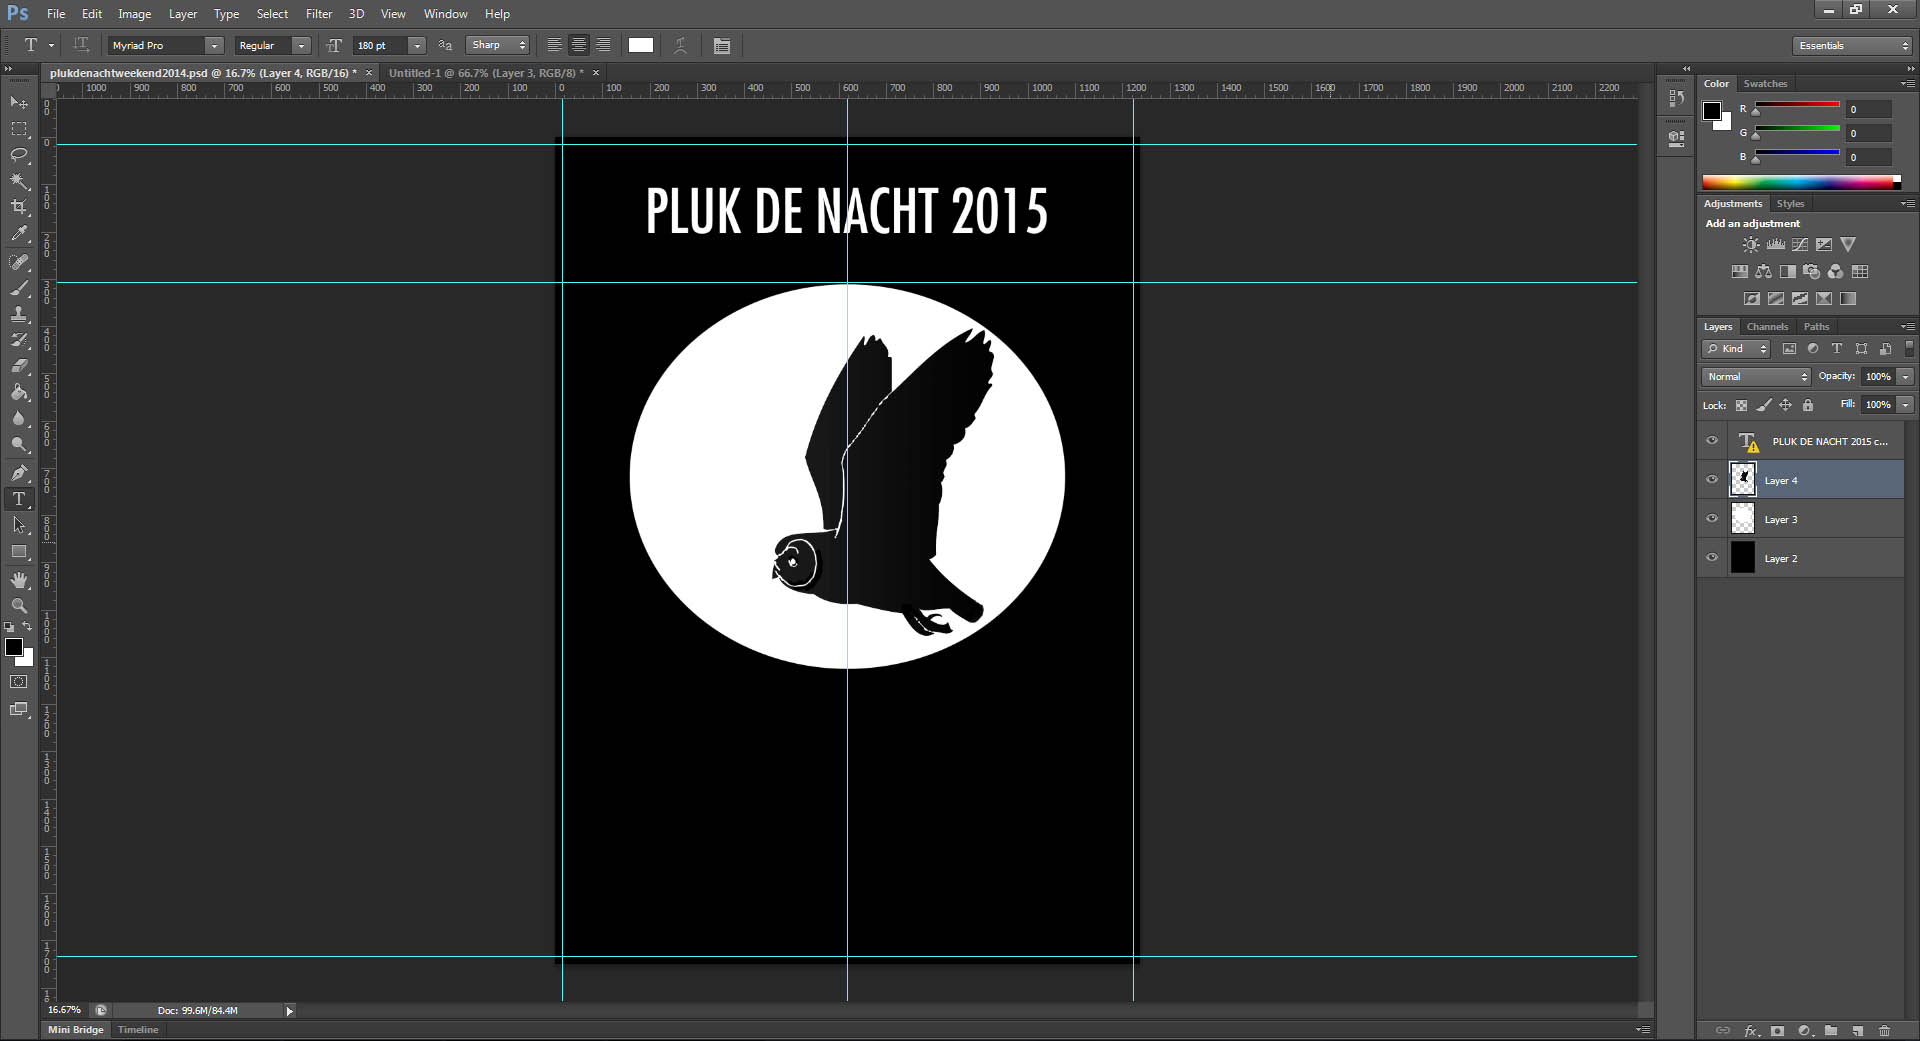
- Insert all compulsory elements, in this case the name of the event and the logo. Add extra guides where neccessary.
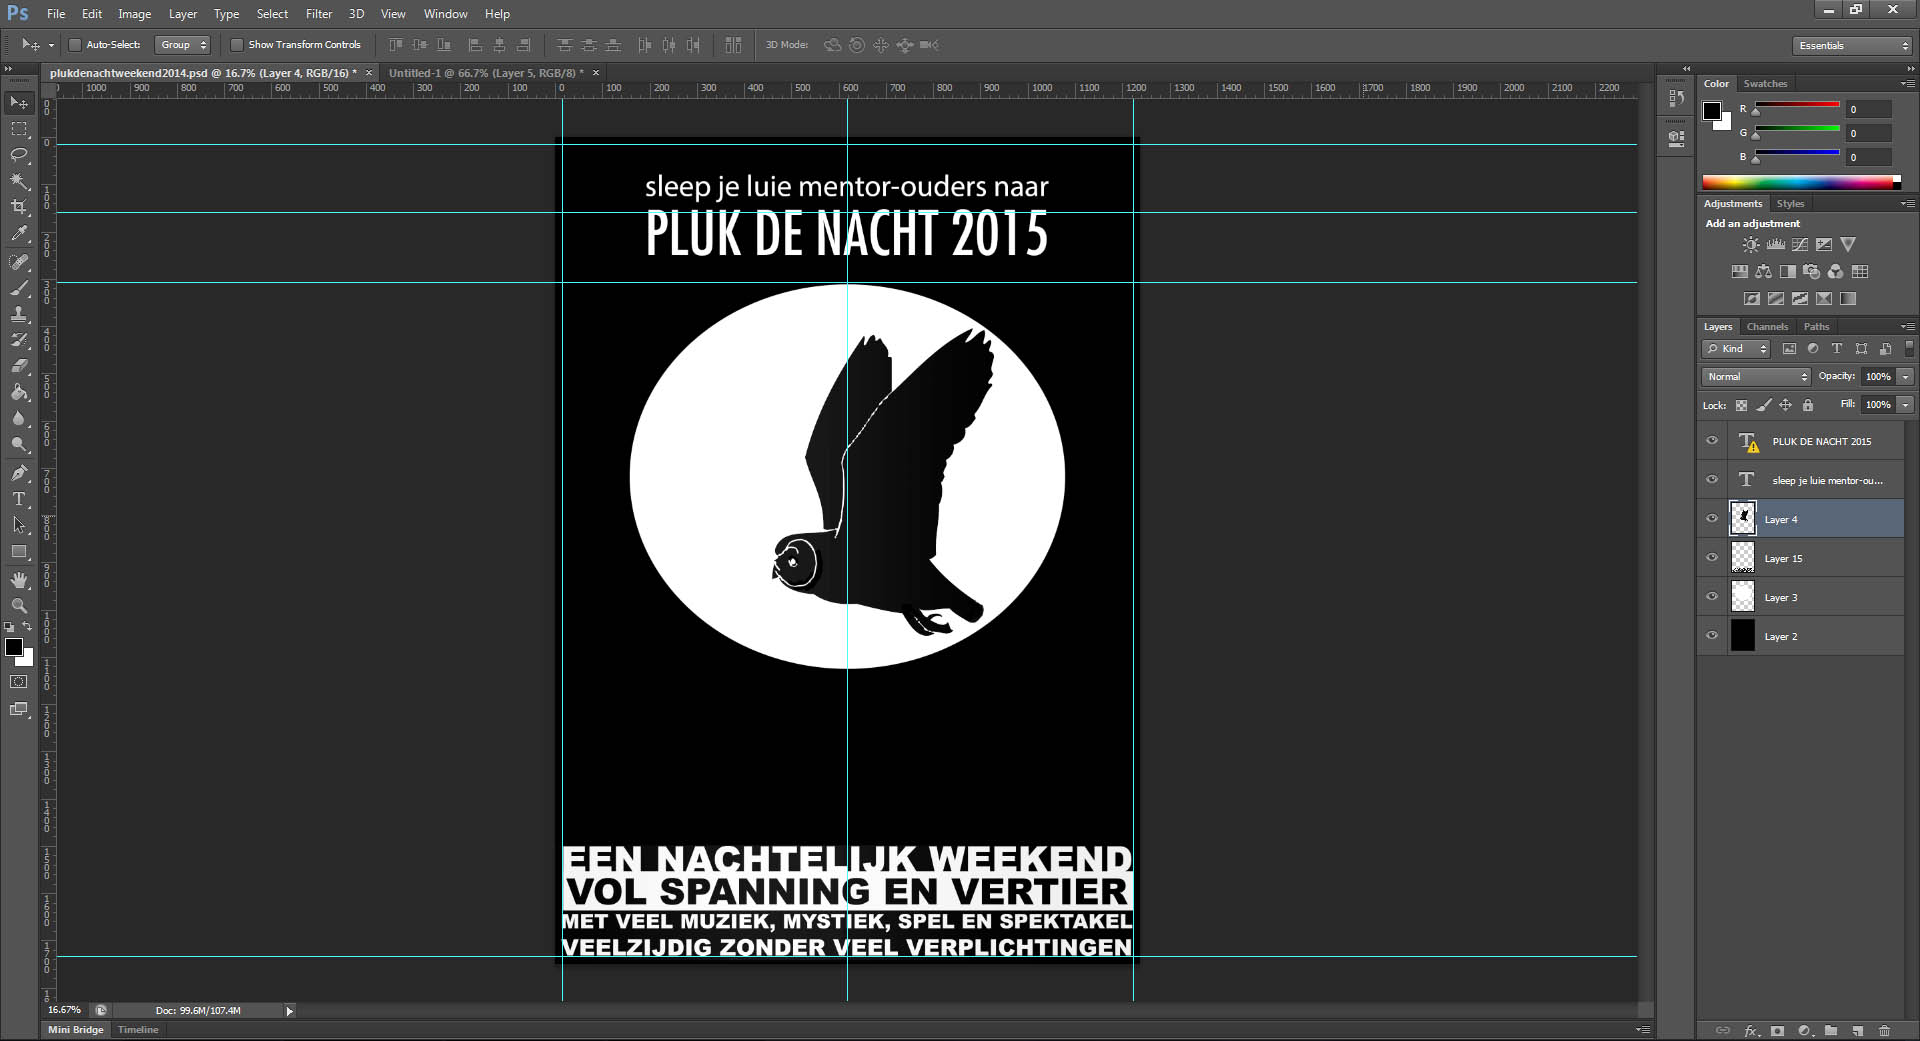
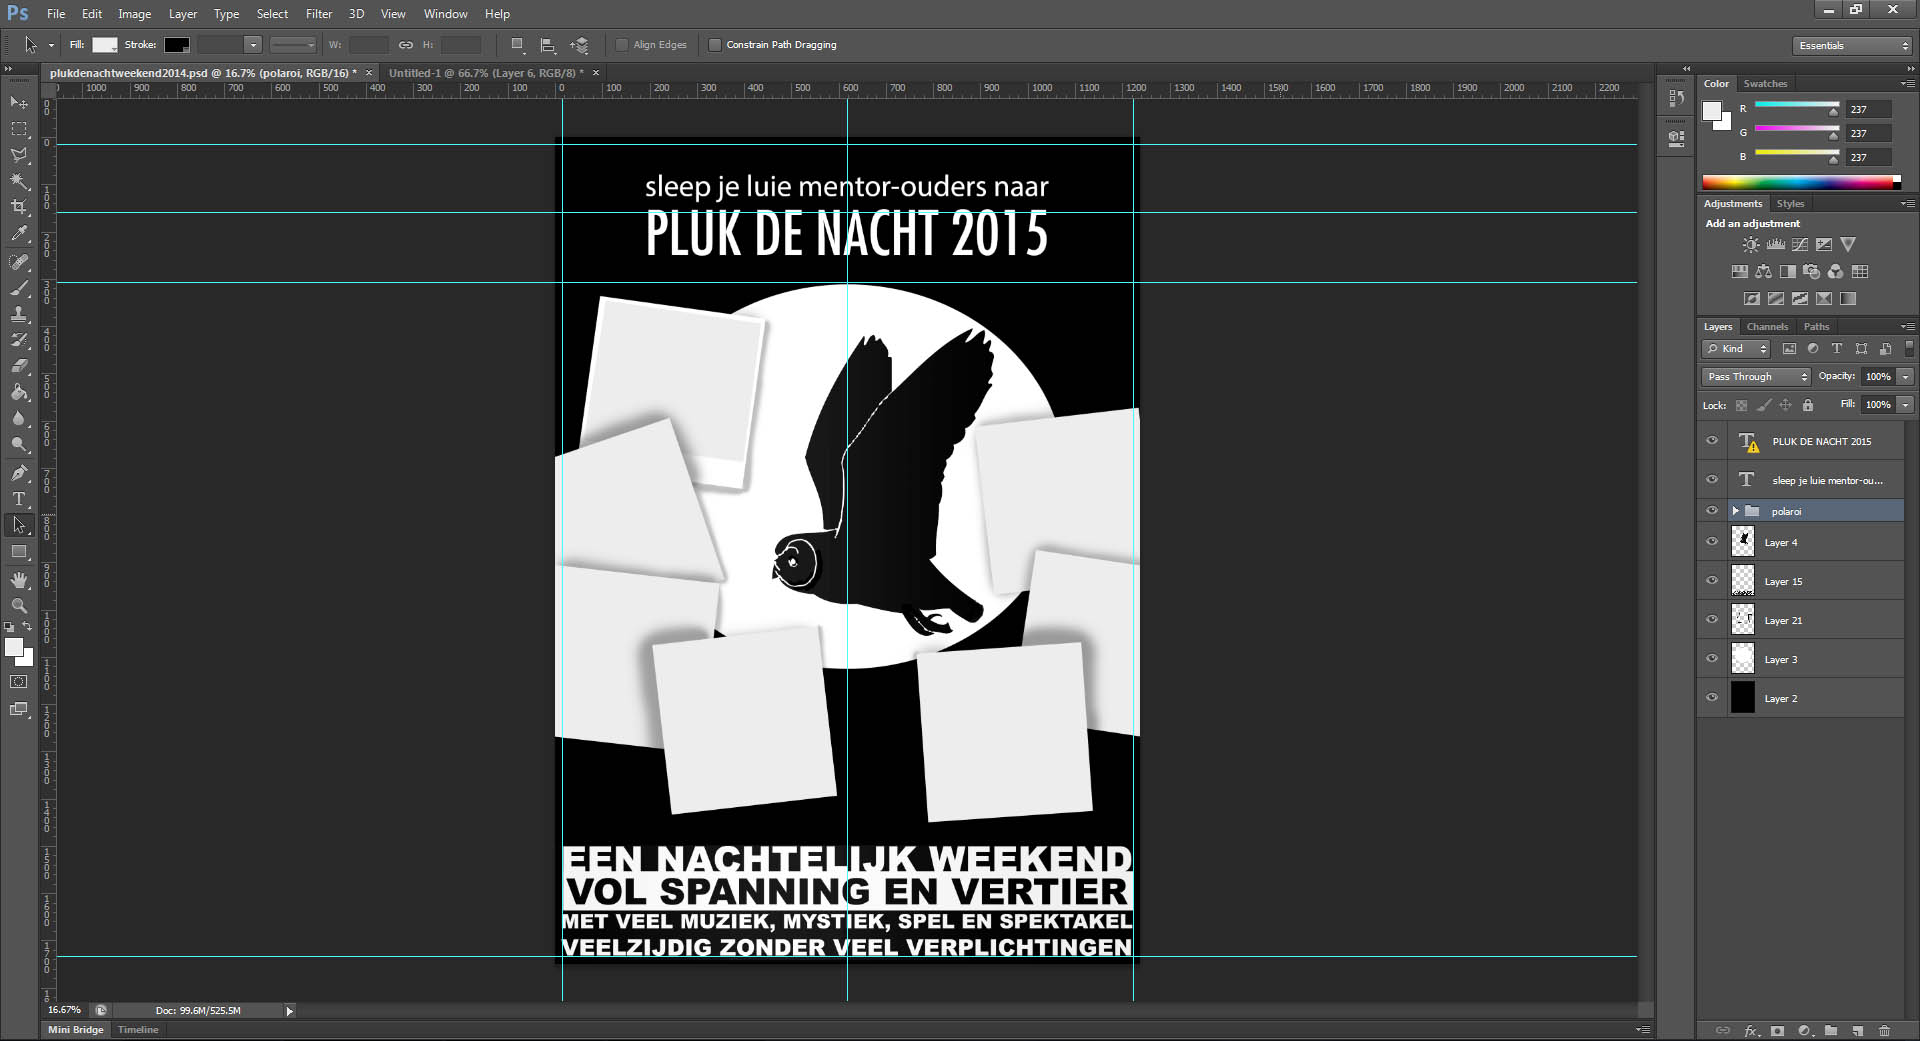
- Add all the text that should be in the final version of the poster. Now you know which amount of whitespace is left for decorative elements.
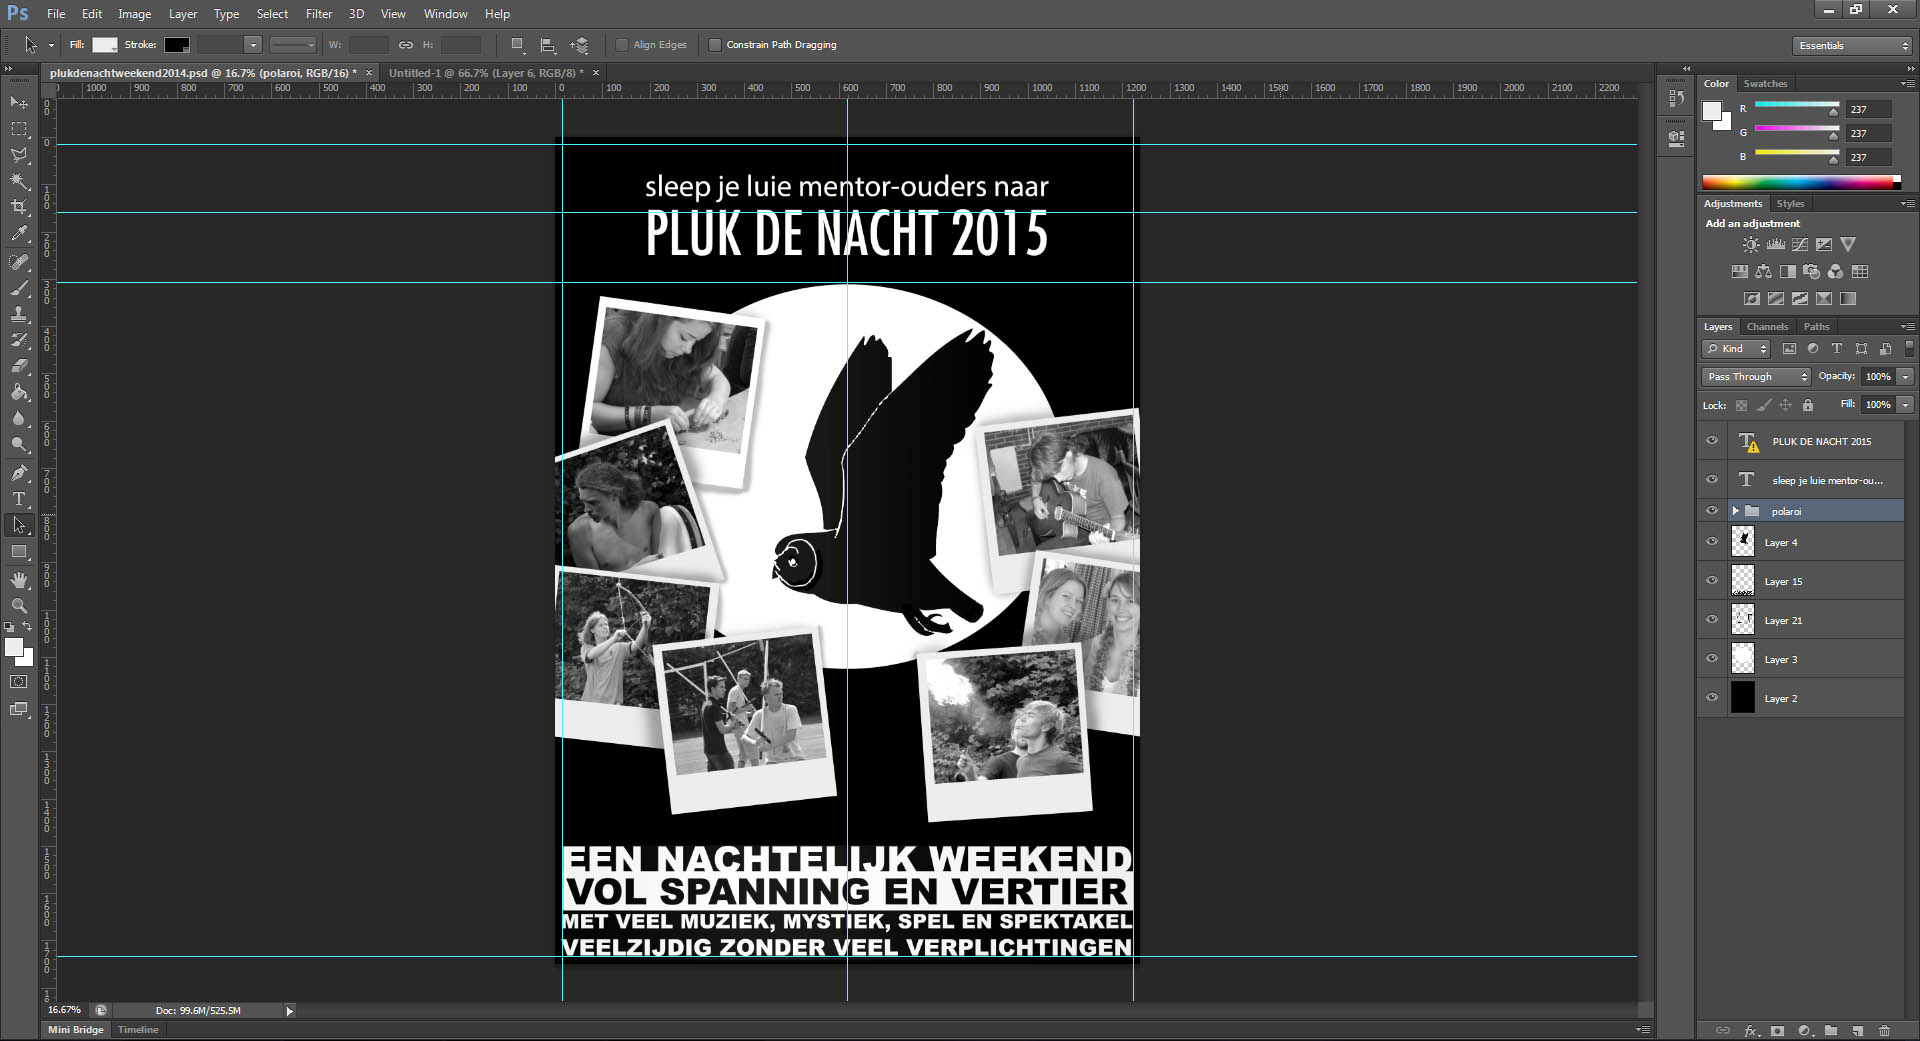
- Decide how you want to fill in the rest of the poster. I decided to included some photographs of earlier versions of this event. To spice things up, I included polaroid frames for the photo’s. After fiddling around for a bit I came up with the following composition:
- Finish things up. Tweak the poster until you are satisfied. The devil is in the details!
I hope this example has helped you with understanding poster design. Questions? Let me know in the comments!